Firmware updates
Updates
The MyECU and the Optimiser are both able to be updated to a later
version of software, either to fix a bug or enhance. If you have
a PC with a 25 pin parallel printer port, a simple cable is all
that is required to perform the upgrade. Most modern computers
will require an inexpensive USB programmer and the one I
recommend is this one from Spark Fun Electronics. You can order direct from them or it is available from me when you order your MyECU.
Important note: Although the hardware and maps are open, the MyECU software is not. The software updates are not to be used for any other purposes other than to help you keep your MyECU
functional and perform upgrades. It is not to be used to
disassemble the MyECU software or create any other chips. You may create one backup chip for use on your MyECU.
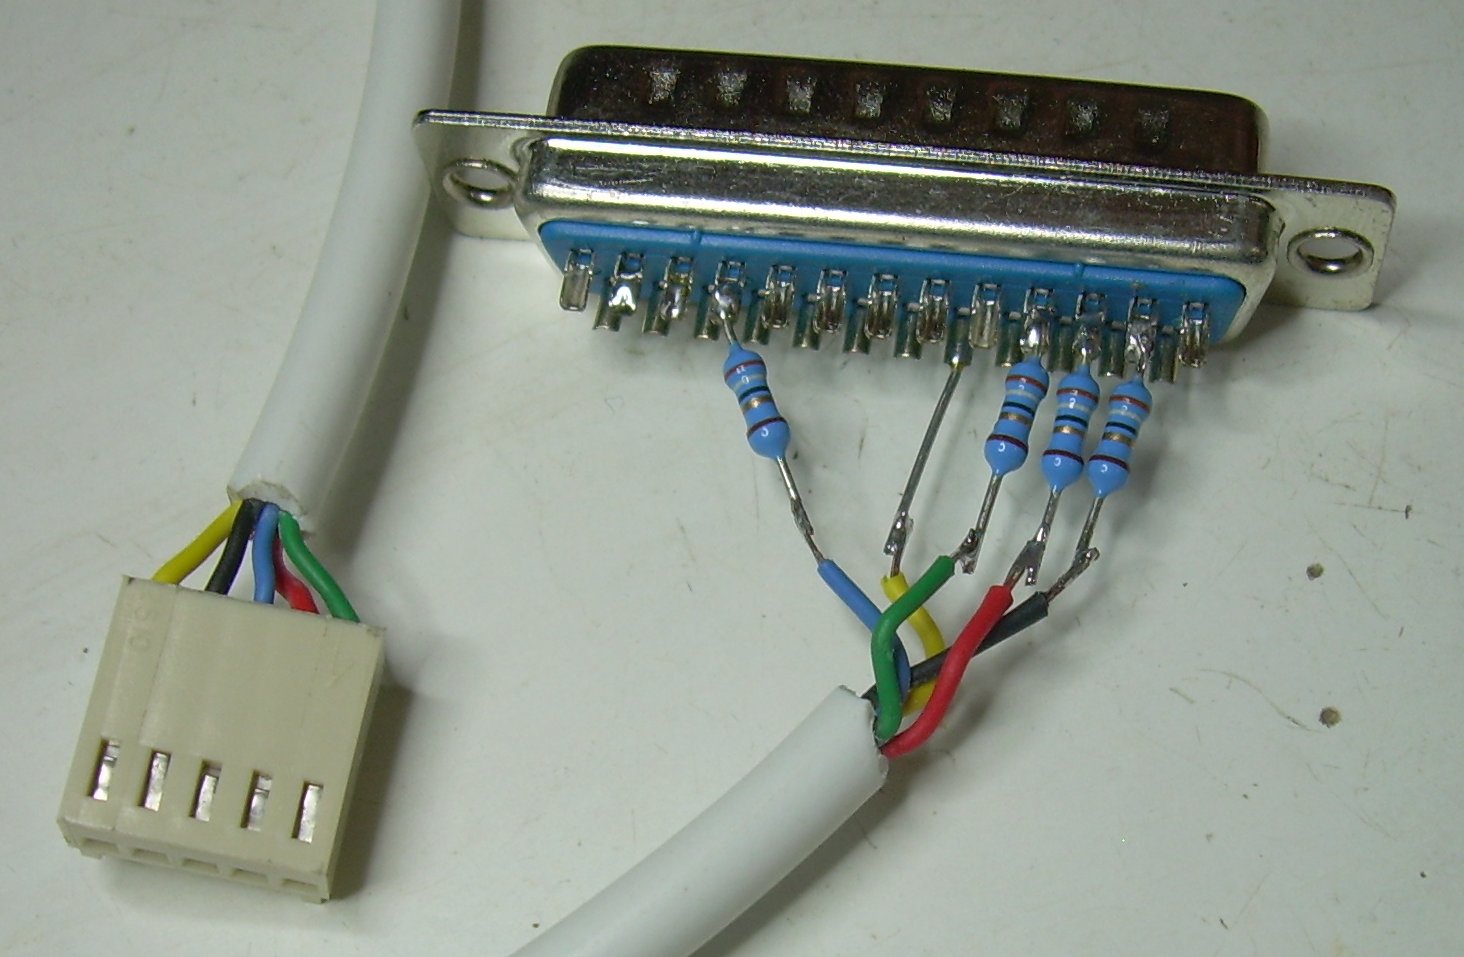
Parallel port cable
|
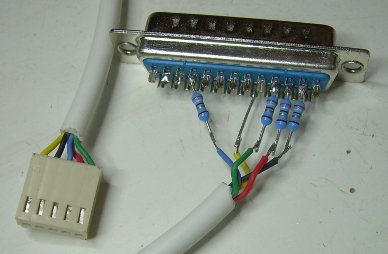
If you look at the 5 pin connector on the layout of MyECU,
we'll call the top pin ( nearest pin 1 of the chip, earth pin ), pin 1. Below are the
connections that need to be made.
All wires, except the earth, require an inline resistor The 25 pin Parallel port plug should have numbers
on it.
1 - 18 ( direct )
2 - 2 (10-68ohm)
3 - 10 (10-68ohm)
4 - 3 ( 10-68ohm)
5 - 4 ( 10-68ohm)
|
|
USB programmer cable
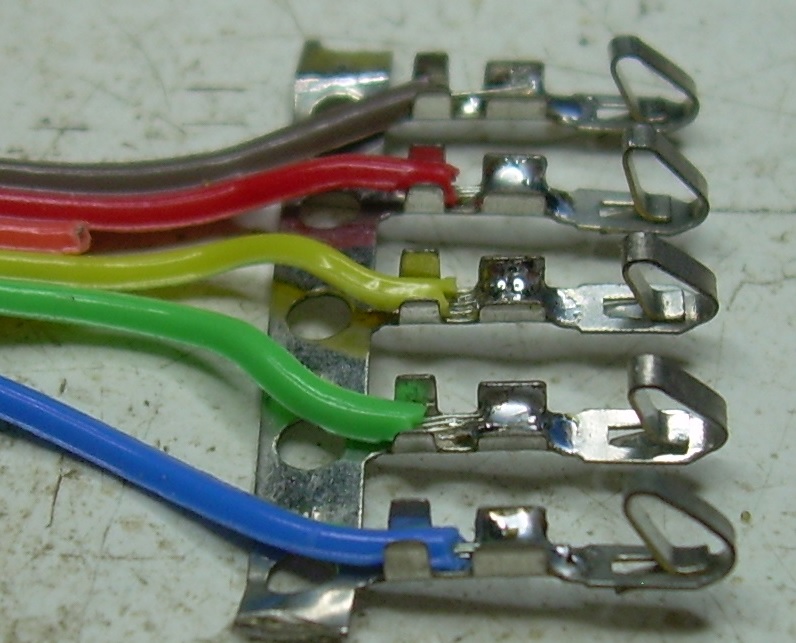
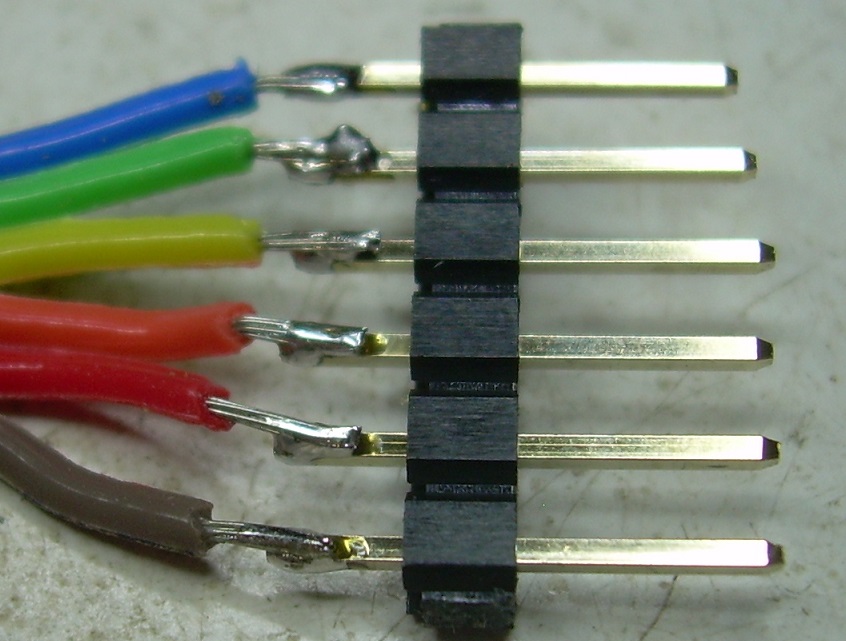
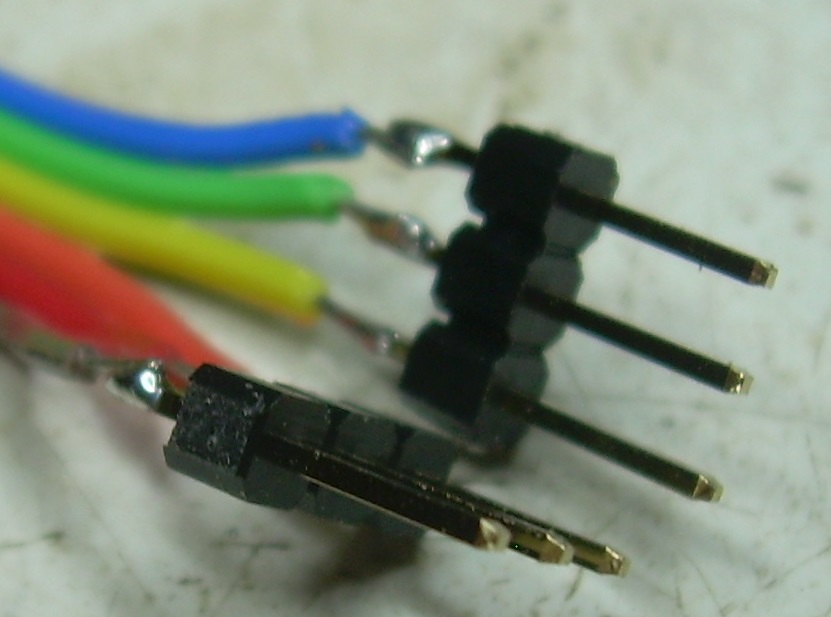
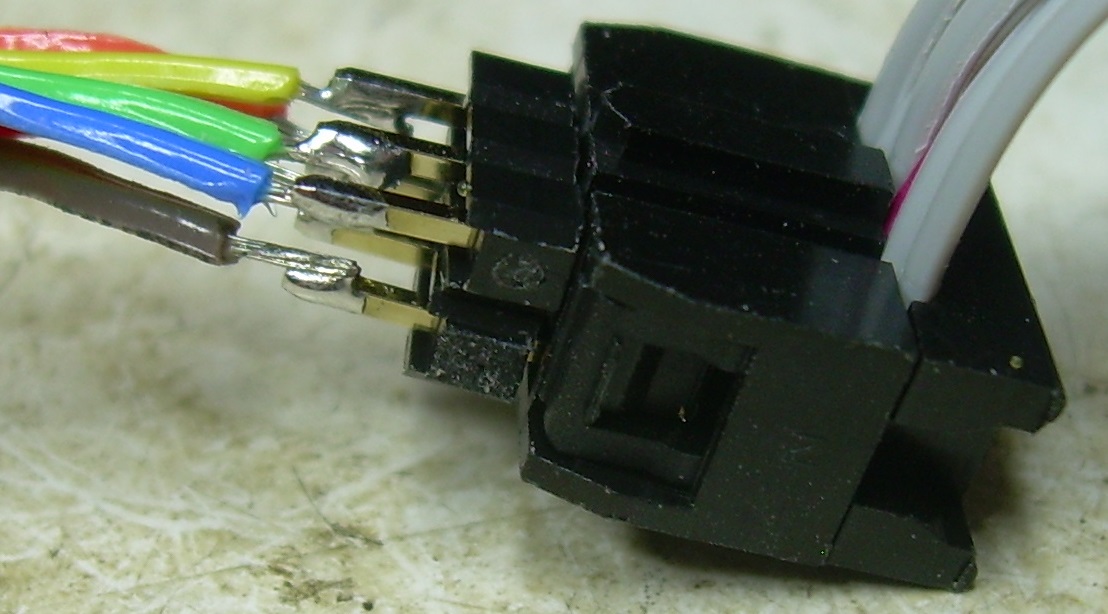
The adapter cable is not required for MyECU Seven series as the 6 pin plug from the programmer fits directly onto the 6 pin header on the MyECU ( the cable goes away from the chip). For earlier MyECUs, an adapter is required for the 5 pin programing header plug, The construction of the adapter is next
|
Note carefully the orientation of components because getting something connected backwards may damage the ECU or programmer.
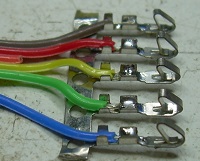
First solder 5 of the 6 wires to the pins. They will go into the plastic plug in this same order.
|
|
|
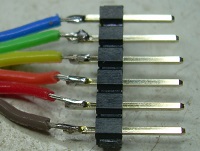
Next solder the 6 wires to the pins.
|
|
|
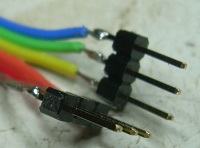
Now break the strip in the middle and bring the ends up to meet.
|
|
|
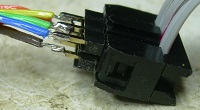
This is the way that it plugs into the cable of the programmer.
After verifying it works you can use hot glue or similar to bond/reinforce the wiring.
|
|
Applying the upgrade
First you need to get hold of a program that can program the Atmel AVR chip. There are a few available and any should work. The one I use is AVRDUDE. This
can run under Windows or linux or MacOS.
In my opinion linux is the easiest option. It just seems to work. Wheras Windows is a pain in the proverbial, especially when it comes to the drivers for the USB programmer. Just about every mainstream linux distro can install avrdude quite easily.
Typically this will install to C:\AVRDUDE.The executable
should be in C:\AVRDUDE\bin. This is assumed to be the directory
in the following steps. This is the directory you want to be in
for the rest of the upgrade.You should copy the .HEX firmware
file into this directory.
Open a command prompt - "Start", "Run",
"cmd" for Windows NT or "command.com" for
Windows 9X
Go into the directory with the AVRDUDE executable -
"cd c:\avrdude\bin"
The next step is the programming of the chip. MyECU must be
powered for flashing. Connect the PC printer port to the 5 pin
header in the ECU.
Cut and paste one of the following commands into NOTEPAD and
save as "FLASH.CMD" ( Windows NT ) or "FLASH.BAT"
( Windows 9X ) in the C:\AVRDUDE\bin directory.
For Atmega32
avrdude -p m32 -c abcmini -e -E
noreset -U lfuse:w:0x1F:m -U hfuse:w:0xDF:m -U flash:w:My16M.hex
-U lock:w:0x3C:m
For Atmega324p
avrdude -u -p m324p -c abcmini -e
-E noreset -U lfuse:w:0xE7:m -U hfuse:w:0xDF:m -U
flash:w:My16M_32.hex -U lock:w:0x3C:m
Now type "flash".If all goes well you should see
this output
avrdude: AVR device initialized and ready to accept
instruction
Reading |
################################################## | 100%
0.00
avrdude: Device signature = 0x1e950
avrdude: erasing
chip
avrdude: current erase-rewrite cycle count is -50462977
(if being tracked
avrdude: reading input file "0x1F"
avrdude:
writing lfuse (1 bytes):
Writing |
################################################## | 100%
0.00
avrdude: 1 bytes of lfuse written
avrdude: verifying
lfuse memory against 0x1F:
avrdude: load data lfuse data from
input file 0x1F:
avrdude: input file 0x1F contains 1
bytes
avrdude: reading on-chip lfuse data:
Reading |
################################################## | 100%
0.00s
avrdude: verifying ...
avrdude: 1 bytes of lfuse
verified
avrdude: reading input file "0xDF"
avrdude:
writing hfuse (1 bytes)
Writing |
################################################## | 100%
0.00s
avrdude: 1 bytes of hfuse writte
avrdude: verifying
hfuse memory against 0xDF:
avrdude: load data hfuse data from
input file 0xDF:
avrdude: input file 0xDF contains 1
bytes
avrdude: reading on-chip hfuse data:
Reading |
################################################## | 100%
0.00s
avrdude: verifying ...
avrdude: 1 bytes of hfuse
verified
avrdude: reading input file "My16M.hex"
avrdude:
input file My16M.hex auto detected as Intel Hex
avrdude:
writing flash (32668 bytes):
Writing |
################################################## | 100%
14.39s
avrdude: 32668 bytes of flash written
avrdude:
verifying flash memory against My16M.hex
avrdude: load data
flash data from input file My16M.hex:
avrdude: input file
My16M.hex auto detected as Intel Hex
avrdude: input file
My16M.hex contains 32668 bytes
avrdude: reading on-chip flash
data
Reading |
################################################## | 100%
9.16
avrdude: verifying ...
avrdude: 32668 bytes of flash
verified
avrdude: reading input file "0x3C"
avrdude:
writing lock (1 bytes)
Writing |
################################################## | 100%
0.00s
avrdude: 1 bytes of lock written
avrdude: verifying
lock memory against 0x3C:
avrdude: load data lock data from
input file 0x3C
avrdude: input file 0x3C contains 1
bytes
avrdude: reading on-chip lock data:
Reading |
################################################## | 100%
-0.00s
avrdude: verifying ...
avrdude: 1 bytes of lock
verified
avrdude done. Thank you.
Now that you have successfully applied the new firmware you
must now reload you map as the above procedure erases the map.